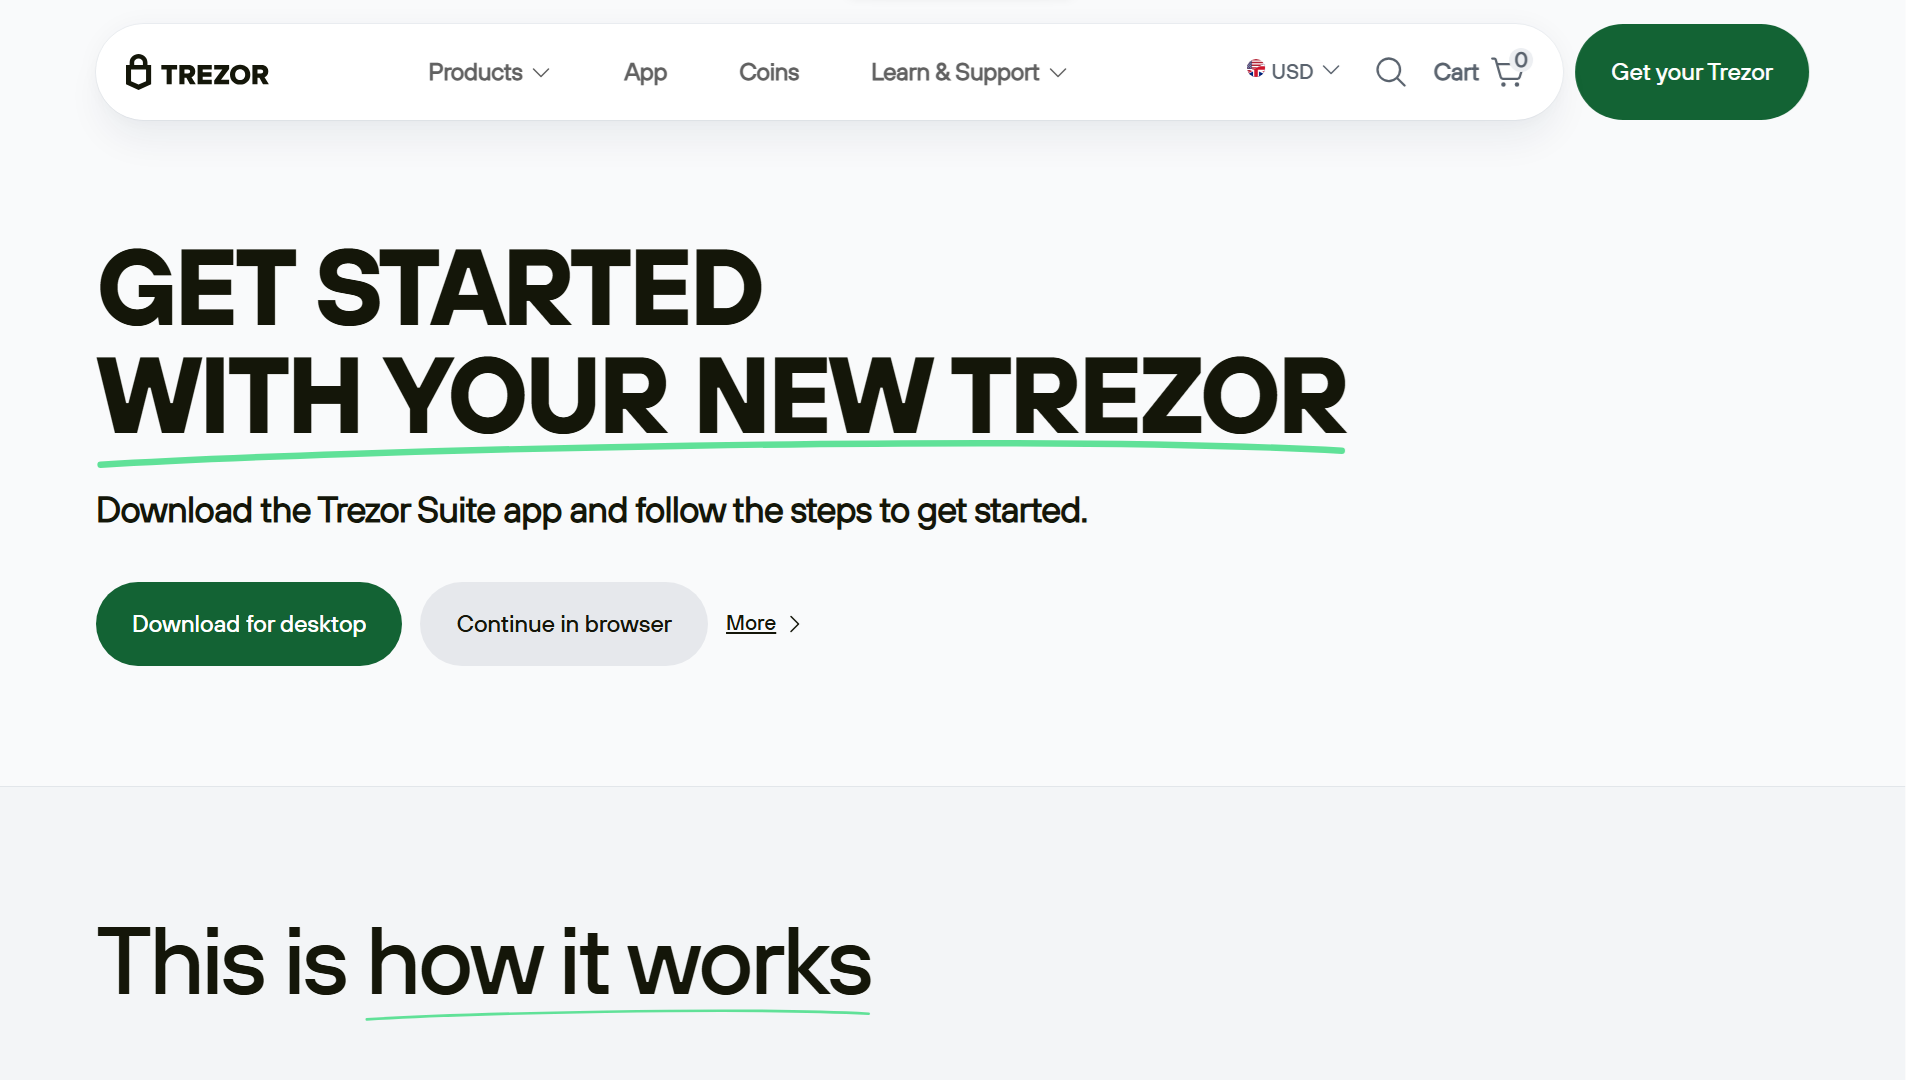
Trézor.io/Start | Getting Started & Secure Device Setup
A hardware wallet is one of the most important tools you can use to safeguard your cryptocurrency, and Trezor is among the most trusted names in the industry. Whether you are new to crypto or transferring assets from a software wallet, setting up your Trezor properly is essential for long-term security. The following guide walks you through everything you need to know—from unboxing the device to performing your first secure transaction—while explaining recommended best practices for maintaining maximum protection over your digital assets.
1. Understanding What a Trezor Device Is
A Trezor hardware wallet is a small physical device that stores the private keys used to access your cryptocurrency. Unlike software wallets, which run on internet-connected computers or mobile phones, a hardware wallet keeps your private keys offline. This design dramatically reduces the risk of theft from malware, remote attackers, phishing sites, or compromised apps.
Instead of exposing your private keys when signing transactions, your Trezor processes cryptographic operations internally and only shares a secure, signed message with your computer or phone. This architecture ensures that the private keys never leave the device, making it one of the safest ways to manage crypto assets.
2. Preparing for Setup
Before plugging in your Trezor for the first time, take a moment to verify everything is intact and genuine.
Check the Box and Contents
Your Trezor package should arrive sealed and show no signs of tampering. Inside, you will typically find:
- The Trezor device (Model One or Model T)
- USB cable
- Recovery seed backup cards
- User instructions or quick-start materials
- Stickers or accessories depending on the model
If anything looks suspicious—ripped seals, unusual wiring, or handwritten seed words—contact Trezor support before proceeding.
Choose a Secure Environment
Because you will generate highly sensitive information such as your recovery seed, it is best to set up your device in a private, safe environment:
- Avoid public Wi-Fi
- Keep cameras and phones away
- Ensure no one can see the screen during setup
This initial setup is the foundation of your wallet's security.
3. Connecting Your Trezor for the First Time
After confirming the device is genuine, connect it to your computer or mobile device using the supplied cable. The device will power on and display a message prompting you to begin configuration.
At this stage, you’ll need to visit Trezor’s official onboarding interface using your browser. This interface guides you through firmware installation, device creation, and wallet initialization. Always navigate manually rather than clicking on links from emails or online posts to avoid phishing risks.
4. Installing or Updating Firmware
New Trezor devices often require firmware installation. Firmware is the internal software that allows the device to operate securely. When prompted:
- Confirm the device’s request to install the newest official firmware.
- Wait for the process to complete; the device may restart.
- Verify the firmware version displayed matches the official release.
Firmware updates are essential because they fix vulnerabilities, add features, and strengthen overall security. Always ensure your device is running the latest version.
5. Creating a New Wallet
Once your firmware is installed, you will be asked whether you want to:
- Create a new wallet, or
- Recover an existing one
Creating a New Wallet
For first-time users, choose the new wallet option. Your Trezor will generate a unique collection of randomly-created words known as a recovery seed. This phrase is the master key to all the private keys in your wallet.
6. The Recovery Seed: Your Most Important Backup
Your recovery seed typically consists of 12, 18, or 24 words depending on the device model. These words are the only way to restore your wallet if your device is lost, stolen, or damaged.
How to Secure Your Recovery Seed
- Write it down on paper using the provided cards.
- Do not take photos, screenshots, or store it digitally.
- Keep multiple copies in separate secure locations.
- Consider storing it in a waterproof, fireproof metal backup if possible.
- Never share it with anyone—not even support personnel.
- Never enter the seed into any website or app.
If someone gains access to your recovery seed, they can access your entire wallet.
7. Setting a PIN for Physical Security
After recording your seed, you will be prompted to create a PIN. This PIN protects the device itself from unauthorized use. If your device is ever lost or stolen, the PIN provides an additional layer of security by preventing immediate access.
PIN Best Practices
- Use a multi-digit PIN (up to 9 digits depending on model)
- Do not reuse a PIN from another device or bank card
- Avoid predictable patterns such as “1234” or birth years
If someone enters the wrong PIN too many times, the device introduces delays or wipes itself to protect your assets.
8. Installing or Connecting Your Wallet Interface
Once your Trezor is set up, you will use a software interface (Trezor Suite or compatible wallet applications) to manage your cryptocurrencies. The interface provides tools for sending, receiving, verifying balances, and interacting with certain blockchain applications.
After connecting the device, the software will recognize it and unlock your wallet after you enter your PIN. From there, you can select which coins to enable or manage.
9. Adding and Receiving Cryptocurrency
To receive cryptocurrency:
- Open your wallet interface
- Select the coin you wish to receive
- Click the “Receive” tab
- Display your receiving address
Most importantly, always verify addresses on the Trezor screen. Because the device's screen is secure and cannot be manipulated by malware, confirming the address reduces the risk of address-changing attacks.
Once verified, share the address with the sender or transfer from another wallet you control.
10. Sending Cryptocurrency
To send assets:
- Enter the recipient’s address in the wallet interface
- Double-check the amount and network fees
- Confirm the transaction
- Review the details on your Trezor device screen
- Approve the transaction physically on the device
Your private keys never leave the device; it signs the transaction securely and sends back a signature to your computer.
11. Enabling Additional Security Features
Trezor devices offer optional advanced features for added protection.
Passphrase (Advanced Users)
A passphrase adds an extra word to your recovery seed. Even if someone obtained your seed, they would still need the passphrase to access the wallet. However, forgetting the passphrase means permanently losing access, so use it carefully.
Shamir Backup (Model T)
This feature breaks your recovery seed into multiple shares, only some of which are required to recover the wallet. It adds robust resilience against physical loss.
12. Keeping Your Wallet Secure Over Time
Hardware wallets are not “set and forget” devices; ongoing security awareness is essential.
Regular Maintenance Tips
- Keep firmware up to date
- Store your recovery seed safely
- Never connect your device to unknown computers
- Beware of phishing attempts
- Use strong computer security measures (antivirus, safe browsing habits)
What to Do if Your Device Is Lost
If you lose your device but have your recovery seed, you can restore your wallet on a new Trezor—or any compatible wallet—without losing funds.
Conclusion
Setting up your Trezor hardware wallet carefully is the foundation of securing your digital assets for the long term. With proper initialization, safe handling of your recovery seed, correct use of PIN and optional advanced features, and ongoing vigilance against threats, a Trezor device provides one of the highest levels of protection available for cryptocurrency holders.